If you run a service based business where the product that you’re selling is the outcome of your labor, imagery is foundational in showing off what you can do to your potential customers. You create transformations with every job!
But here’s the real question:
Are you showing those transformations in a way that builds trust and increases bookings and inquiries?
Before-and-after photos are one of the most powerful marketing tools for service-based businesses — when they’re done correctly.
Let’s walk through how to use them strategically (no tech expertise required).
Why Before & After Photos Work
People don’t just buy services. They buy outcomes.
Before-and-after images help :
- Instantly build credibility
- Show real results
- Reduce hesitation
- Answer the question, “Will this work for me?”
- Help visitors imagine their own transformation
For visual industries like beauty, skincare, landscaping, remodeling and even certain wellness services, this is especially powerful.
Step 1: Take Photos the Right Way
This is where most businesses accidentally weaken their results.
For strong, believable comparisons, you need:
✅ The Same Position and Angle
Both photos should be taken:
- From the same spot
- At the same height
- With the subject facing the same direction
If the “after” photo is closer, brighter, or angled differently, it can look misleading — even if the results are amazing.
Consistency builds trust.
✅ Similar Lighting
Lighting can dramatically change how something looks.
Try to:
- Use the same room or location
- Keep the same light source
- Avoid heavy shadows in one image and not the other
- Avoid filters
Natural light is often best, but consistency matters more than perfection.
✅ Clean, Neutral Background
A busy background distracts from the transformation.
Simple backgrounds:
- White or neutral walls or simple backdrop
- Remove distractions from the background (for example, if outside, remove tools and other extraneous items from the area you’re photographing)
The focus should be on the results — not the environment.
✅ Always Get Permission
Make sure you have written permission to use images, especially for:
- Photos that show people and especially faces
- Any photo that shows personal property
A simple consent form should be sufficient to protect you and your client, but you may want to check with a legal professional to see if something more in-depth may be needed.
Step 2: Don’t Just Post — Place Strategically
Many businesses post before-and-after photos on social media and stop there.
But your website is where decisions happen.
Consider placing them:
- On your service pages
- Near your booking buttons
- On your homepage
- On a dedicated “Results” page
Position them close to a call-to-action like:
“Book Your Appointment”
“Schedule Your Consultation”
“Start Your Transformation”
That connection between proof and action is powerful.
Step 3: Make the Comparison Easy to See
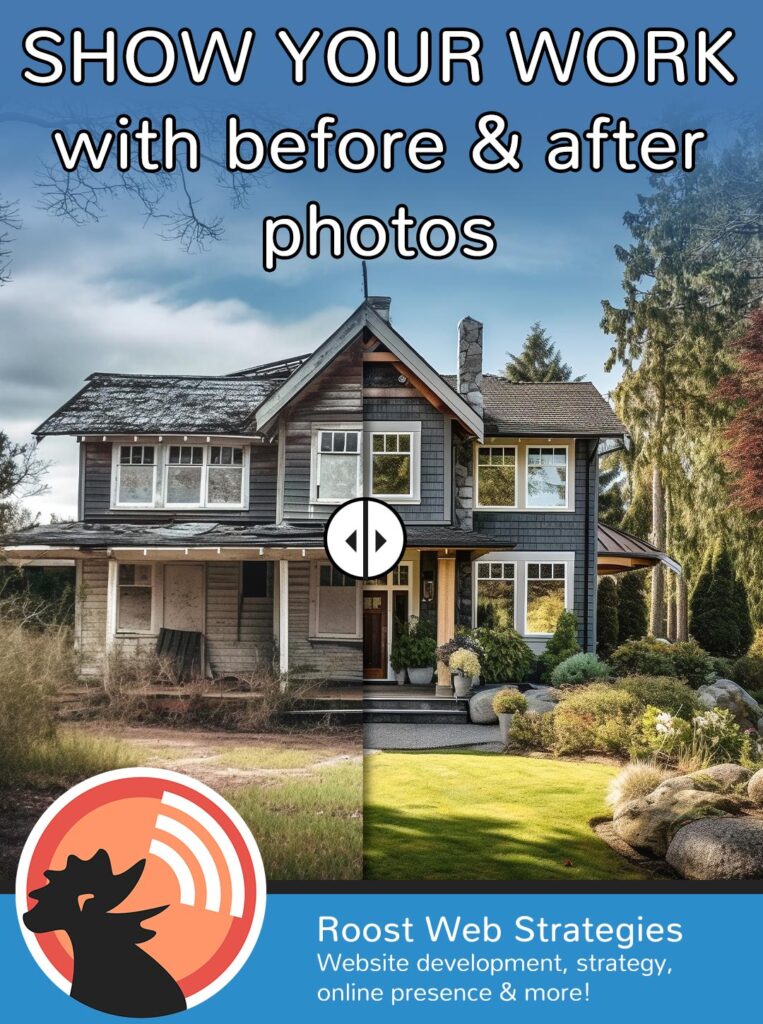
Side-by-side images work. But there’s something even more engaging: swipe-to-reveal comparisons.
A swipe feature allows visitors to slide between the before and after image in the exact same frame. It:
- Feels interactive
- Makes changes clearer
- Keeps visitors on your site longer
- Looks polished and professional
At Roost Web Strategies, we offer a website plugin that creates a smooth swipe-to-reveal comparison directly on your site.
All you need to provide are:
- A properly aligned “before” photo
- A properly aligned “after” photo
We handle the rest.
No tech skills required on your end. Just reach out to us if the swipe-to-reveal comparison is a feature you are interested in.
Step 4: Add Context (This Increases Conversions)
Photos alone are strong. Photos with explanation are stronger.
Add a short caption like:
- “1-day back yard restoration”
- “45-minute facial and make-up”
- “5 sessions of laser hair removal”
This helps visitors understand:
- Time commitment
- What’s realistic
- What’s possible
It also prevents unrealistic expectations.
Common Mistakes to Avoid
🚫 Using different angles
🚫 Using heavy filters
🚫 Posting only extreme transformations
🚫 Forgetting to connect photos to a booking button
🚫 Letting them live only on Instagram
Your website should be your strongest proof platform.
A Small Upgrade That Can Lead to More Bookings
When potential clients see clear, believable results presented professionally, hesitation drops.
Trust rises.
Bookings and inquiries increase.
If you already have before-and-after photos, Roost can:
- Review them
- Help you select the strongest pairs
- Install a swipe comparison feature
- Optimize placement for conversions
If you don’t have photos yet, now is the perfect time to start capturing them — using the simple guidelines above.
Your work is transformational.
Make sure your website shows it!